
Why Voice Simulation Evaluations Matter
Voice evaluations test qualities that text simulations cannot reach:Voice Simulation Dashboard
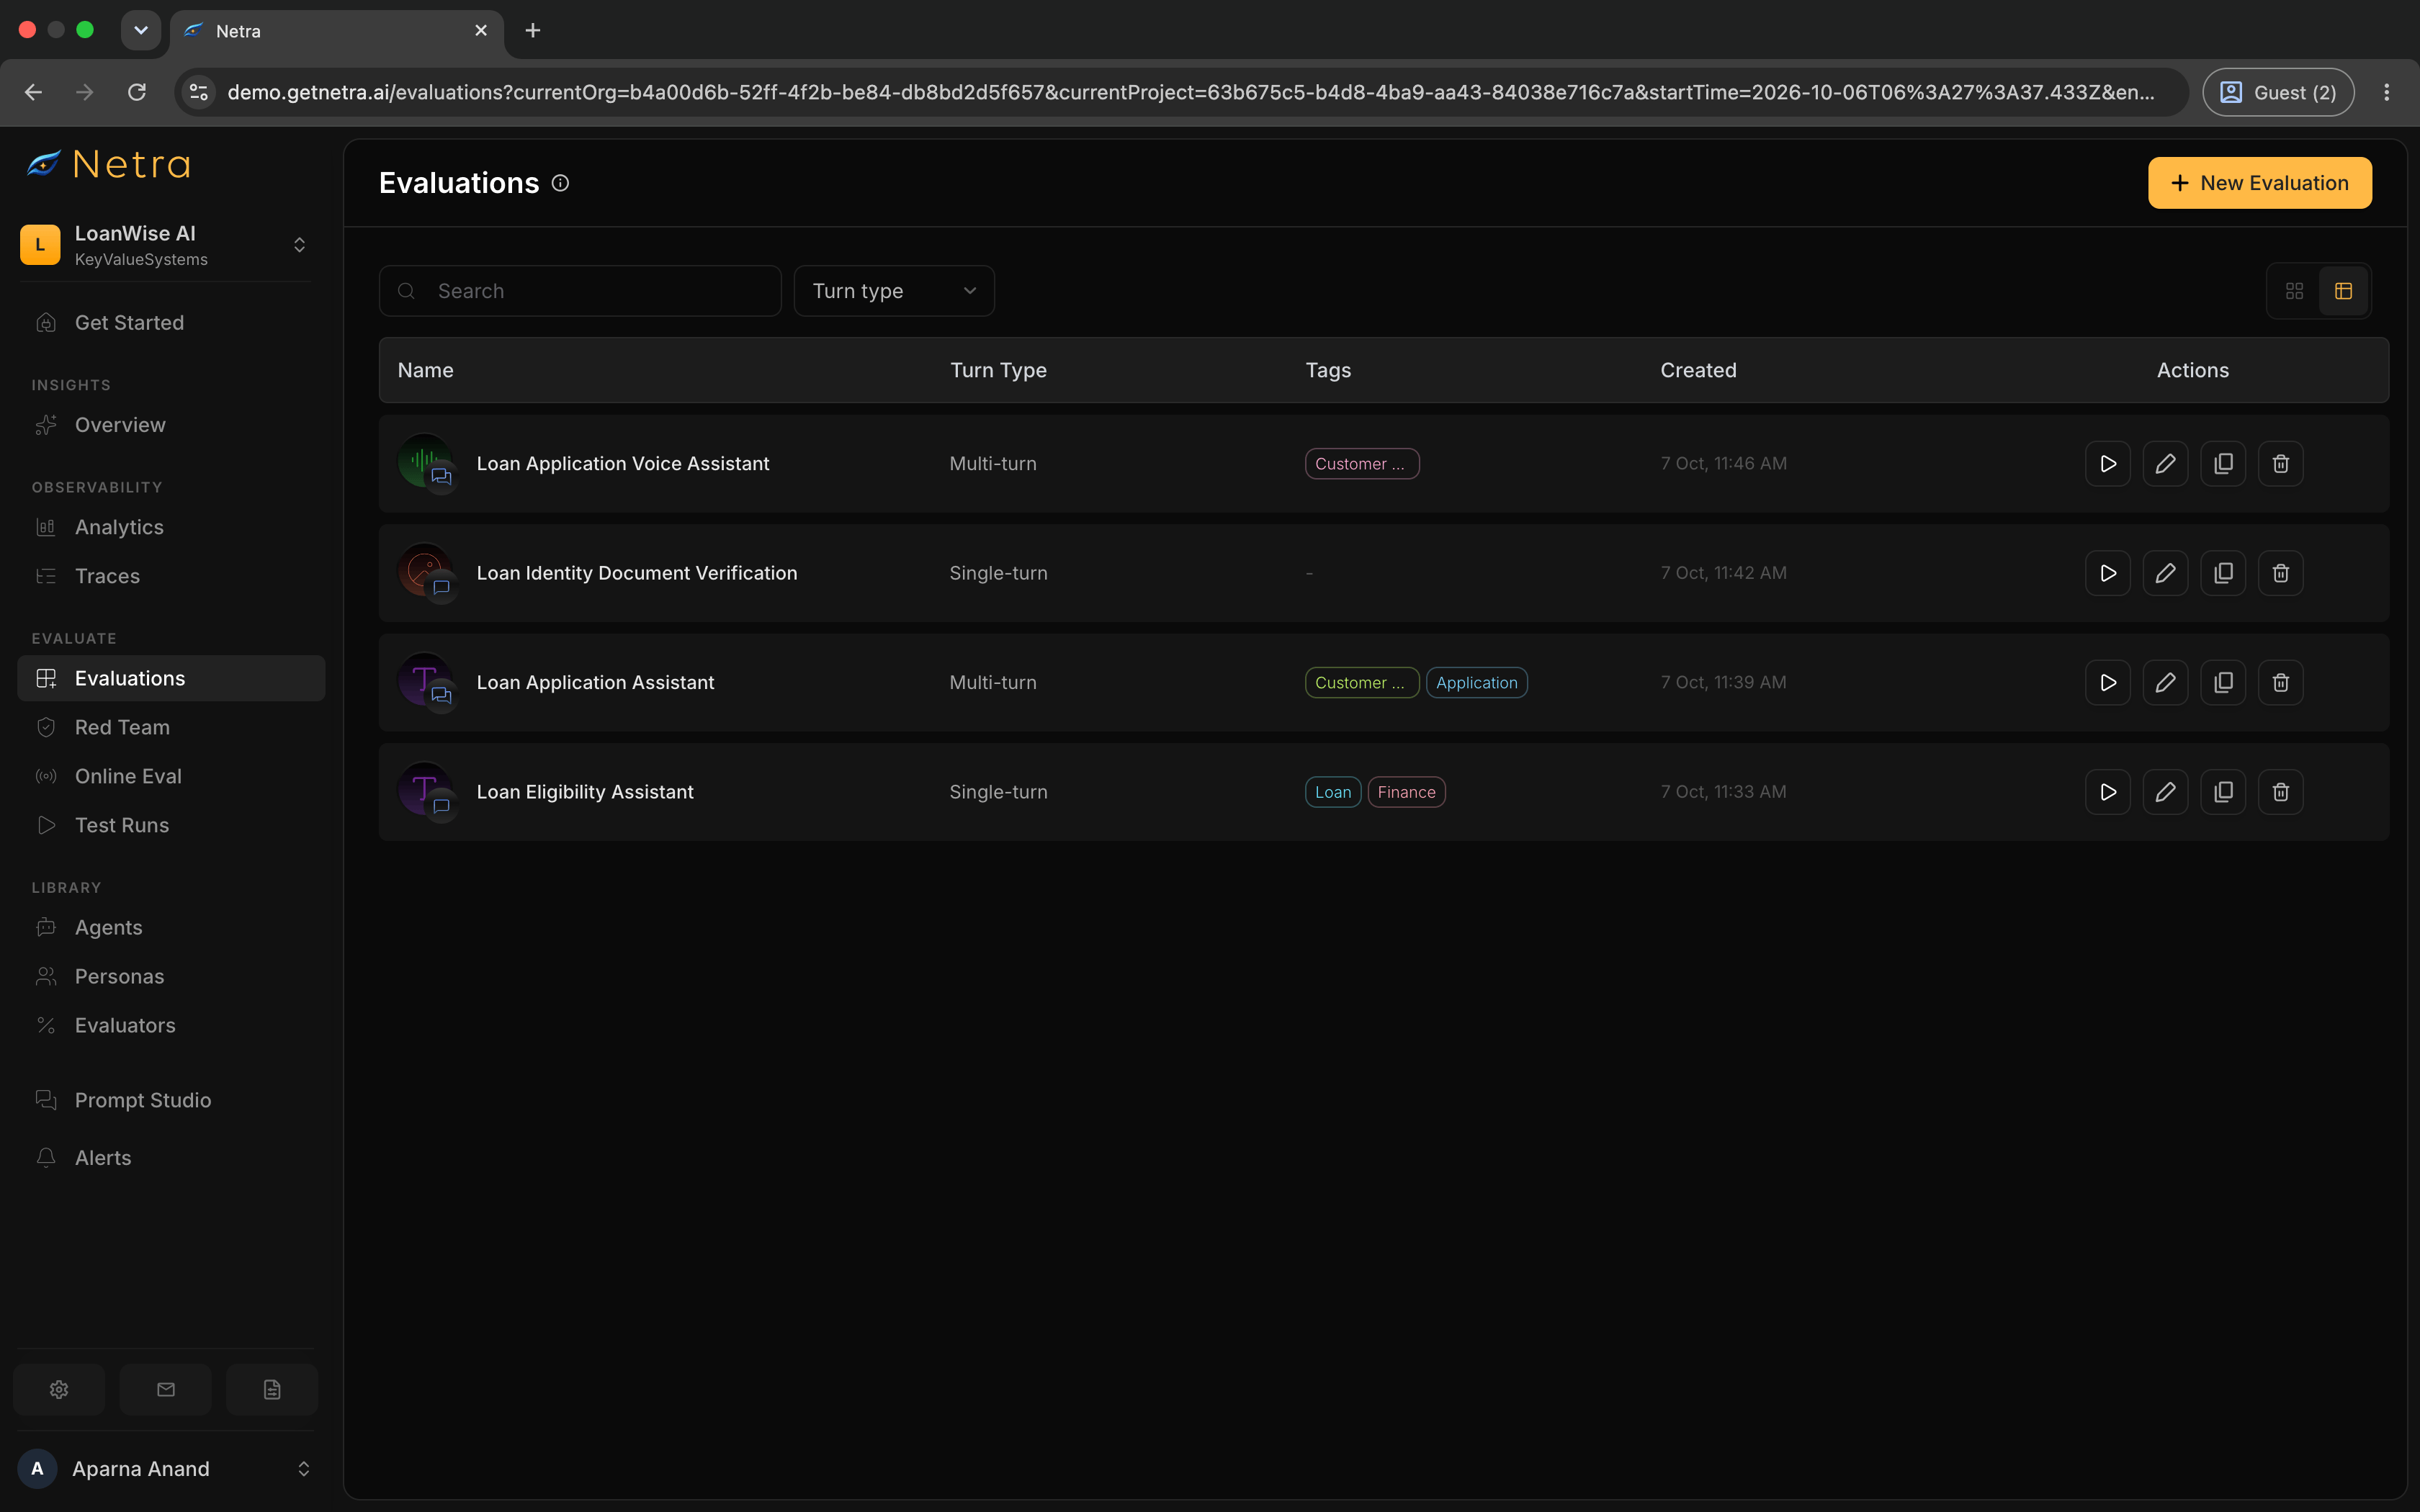
Navigate to Evaluate → Evaluations from the left navigation panel to access your evaluations. Filter by Multi turn type to focus on simulations, and switch between card and list views from the page toolbar. Each voice simulation shows a voice type icon with a Multi-turn badge at the bottom-right. Voice evaluations always use Multi Turn Simulation.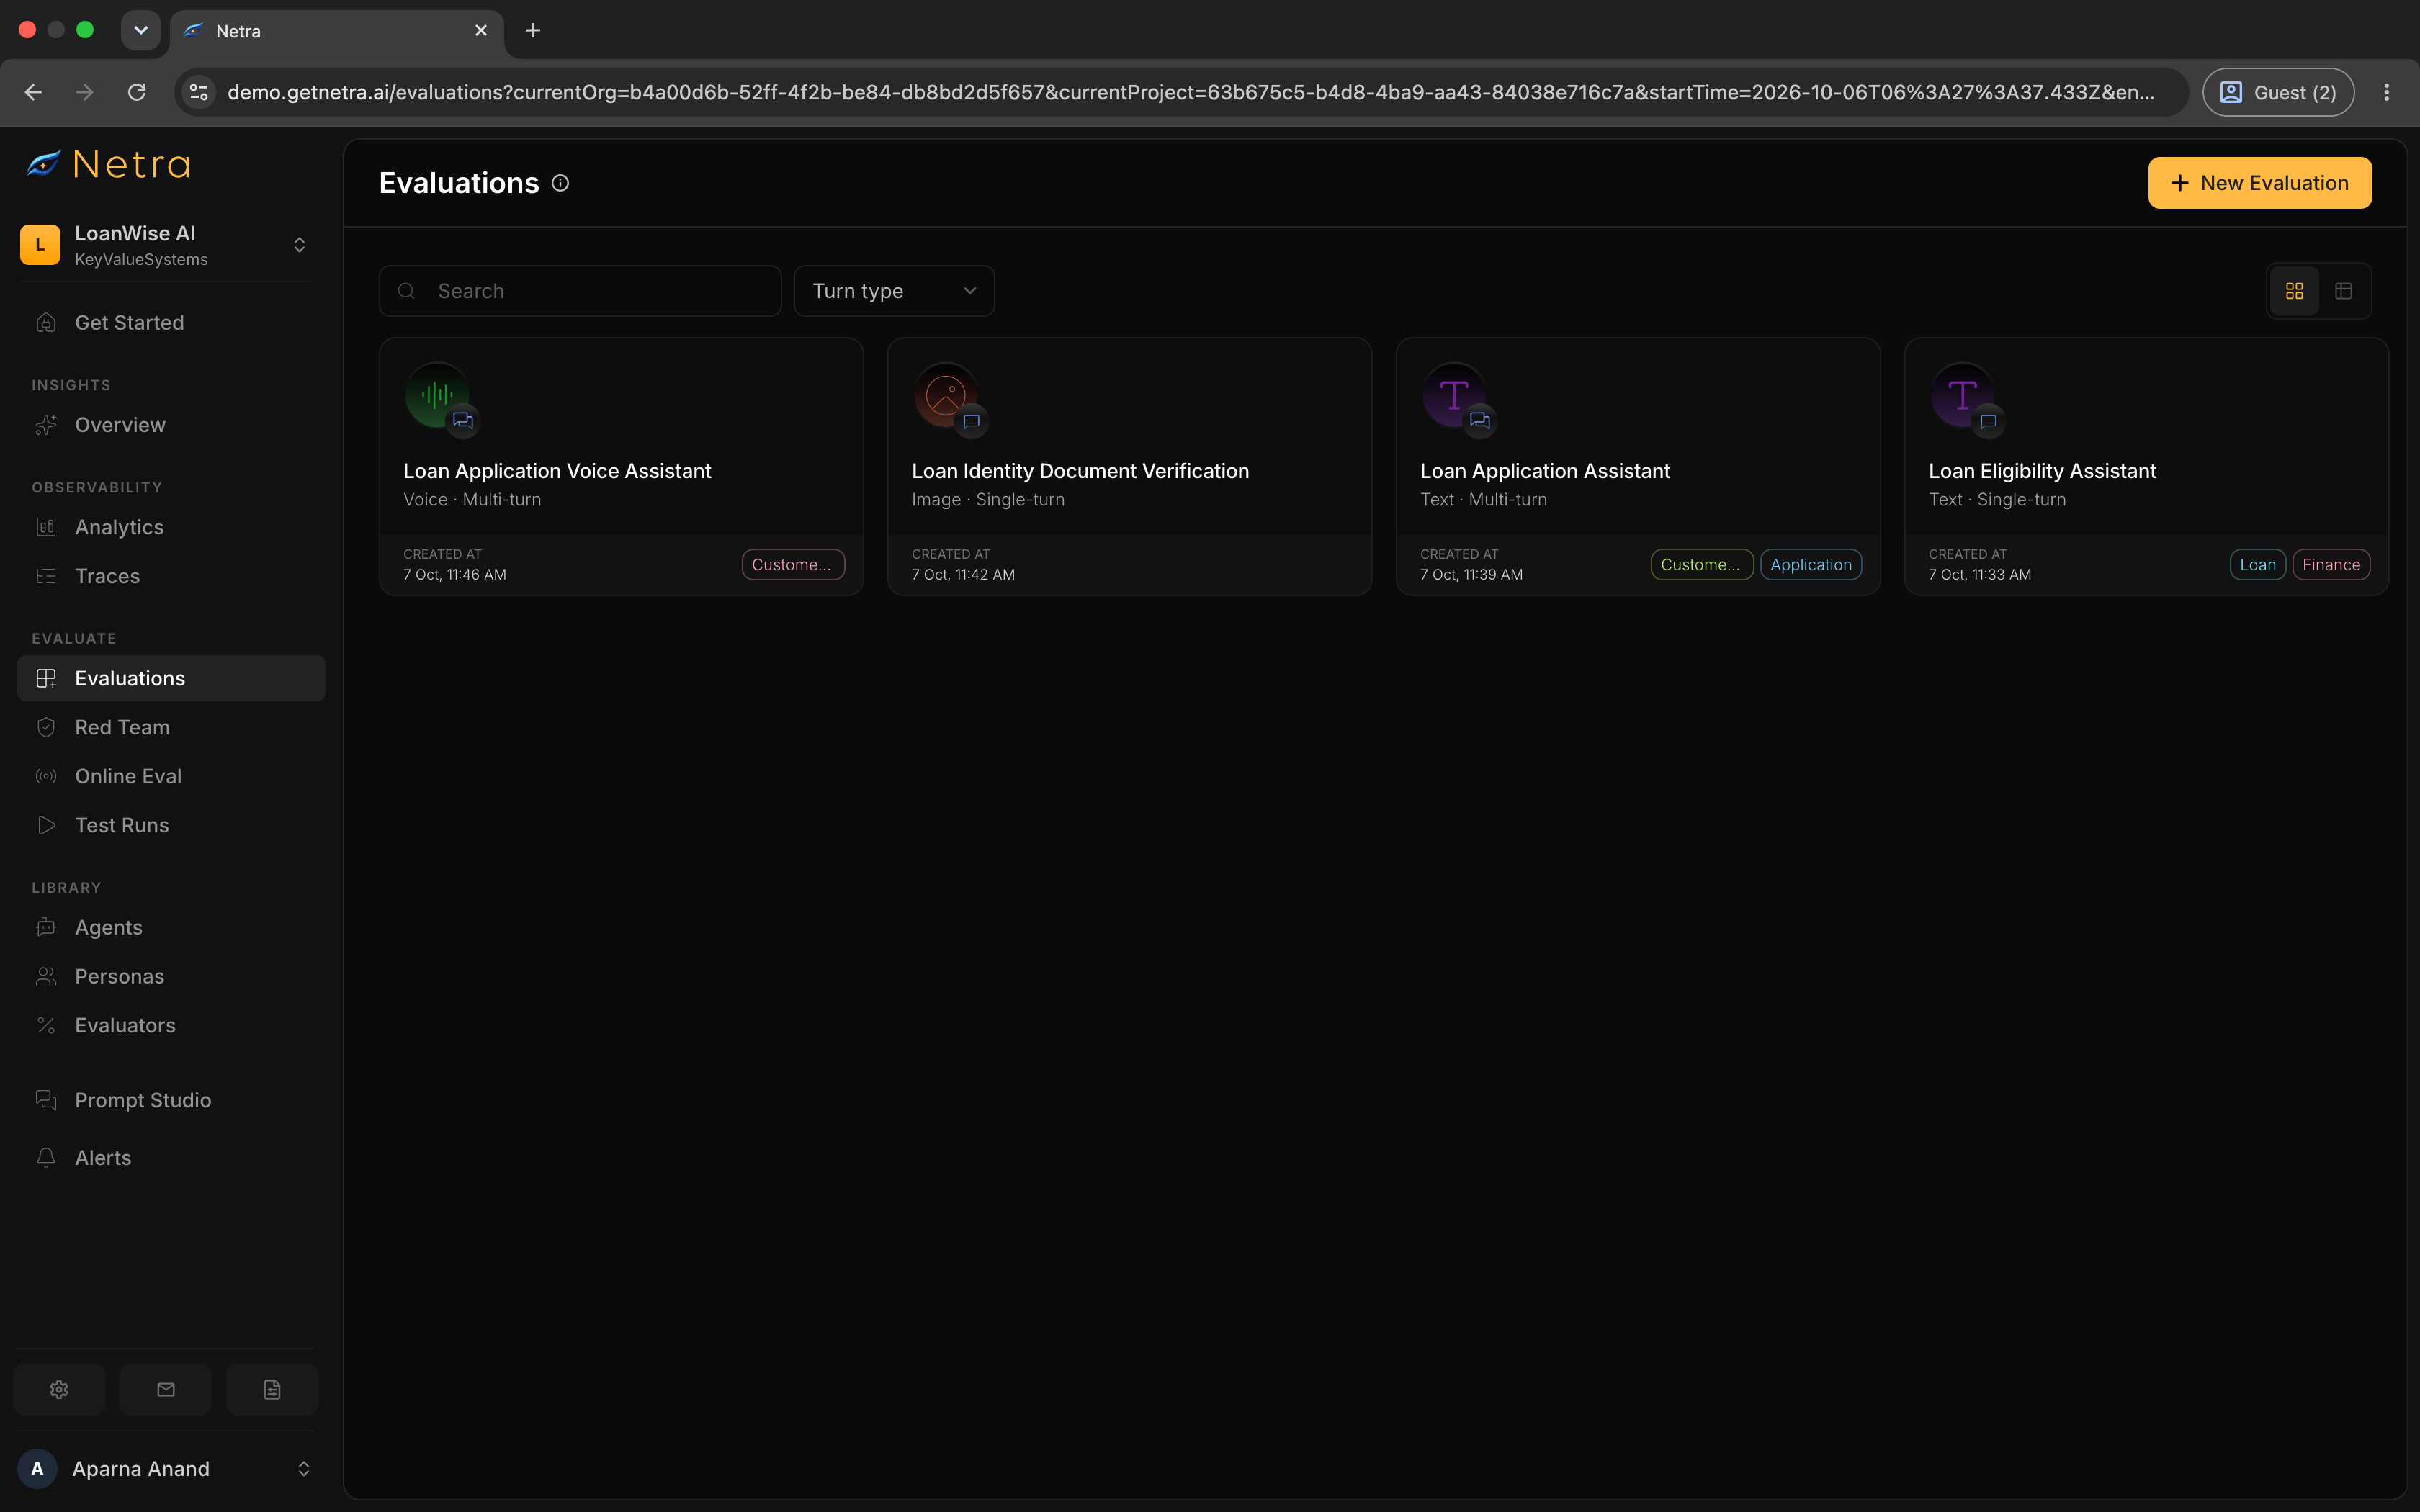
Voice · Multi-turn), tags, created date, a Run action, and a menu with Duplicate, Edit, and Delete.
Creating a Voice Evaluation
Open Evaluate → Evaluations, click New Evaluation, and choose Voice as the evaluation type. Voice automatically sets the conversation style to Multi Turn Simulation. The creation wizard has three steps: Setup → Scenario → Evaluators. The evaluation name and tags are always editable in the header bar at the top.1
Setup
Click New Evaluation and configure the basics:
Tags can be added at any point via the header bar at the top of the wizard.
2
Set Up Voice Scenario
On the Scenario step, add one or more voice scenario cards. Each card has three sections:01 SetupInformation available to the simulated user — Enter the context data the caller can reference as a Table, as JSON, or as Plain Text.Background noise — Optionally choose a background noise clip (cafe, street, office, and more) and set its intensity. Use this to test how well your pipeline copes with realistic environments.Persona — Pick the caller persona from your Personas library. Every scenario requires exactly one persona — the persona defines the caller’s voice, speech traits, accent, and language. You can search for an existing persona or create a new one inline.Voice pipeline — Configure the providers and models for each stage of the call:
02 Your agent
03 The callerVoice goal — Describe what should happen on this call (required). This tells the simulated caller what outcome to work towards.
Create and manage personas under Library → Personas before building voice evaluations, or create one inline from the scenario card.
Click + Add Scenario to add more voice scenarios to the same evaluation.
3
Configure Evaluators
Click Next to reach the Evaluators step. This is a split view with the evaluator library on the left and your Scoring Pipeline on the right.
- Click on any evaluator card in the library, or drag it into the pipeline, to add it
- Expand an evaluator in the pipeline to configure its judge model, pass criteria, and any configurable variables
- TTS quality: Humanness, Pronunciation Accuracy, Language Accuracy, Speaking Rate / Pace
- STT accuracy: Word Error Rate, Transcription Correctness, Time to First Transcript
- Conversational delivery: Backchannelling Naturalness, Expressiveness, Speaking Percentage
Variable mappings are not shown for multi-turn evaluations — the library defaults handle mapping automatically.
4
Create Evaluation
On the final step two buttons appear in the footer:
- Create Evaluation — saves the evaluation and opens the detail page
- Save and Run — saves the evaluation and immediately opens agent selection to trigger a test run. Only voice-modality agents appear in the agent selector
Running a Voice Simulation
Open your evaluation, go to the Test Runs tab, and click Run Test Suite. Select a registered voice agent—your LiveKit-connected application—and start the run. Netra places simulated calls to your agent for every scenario.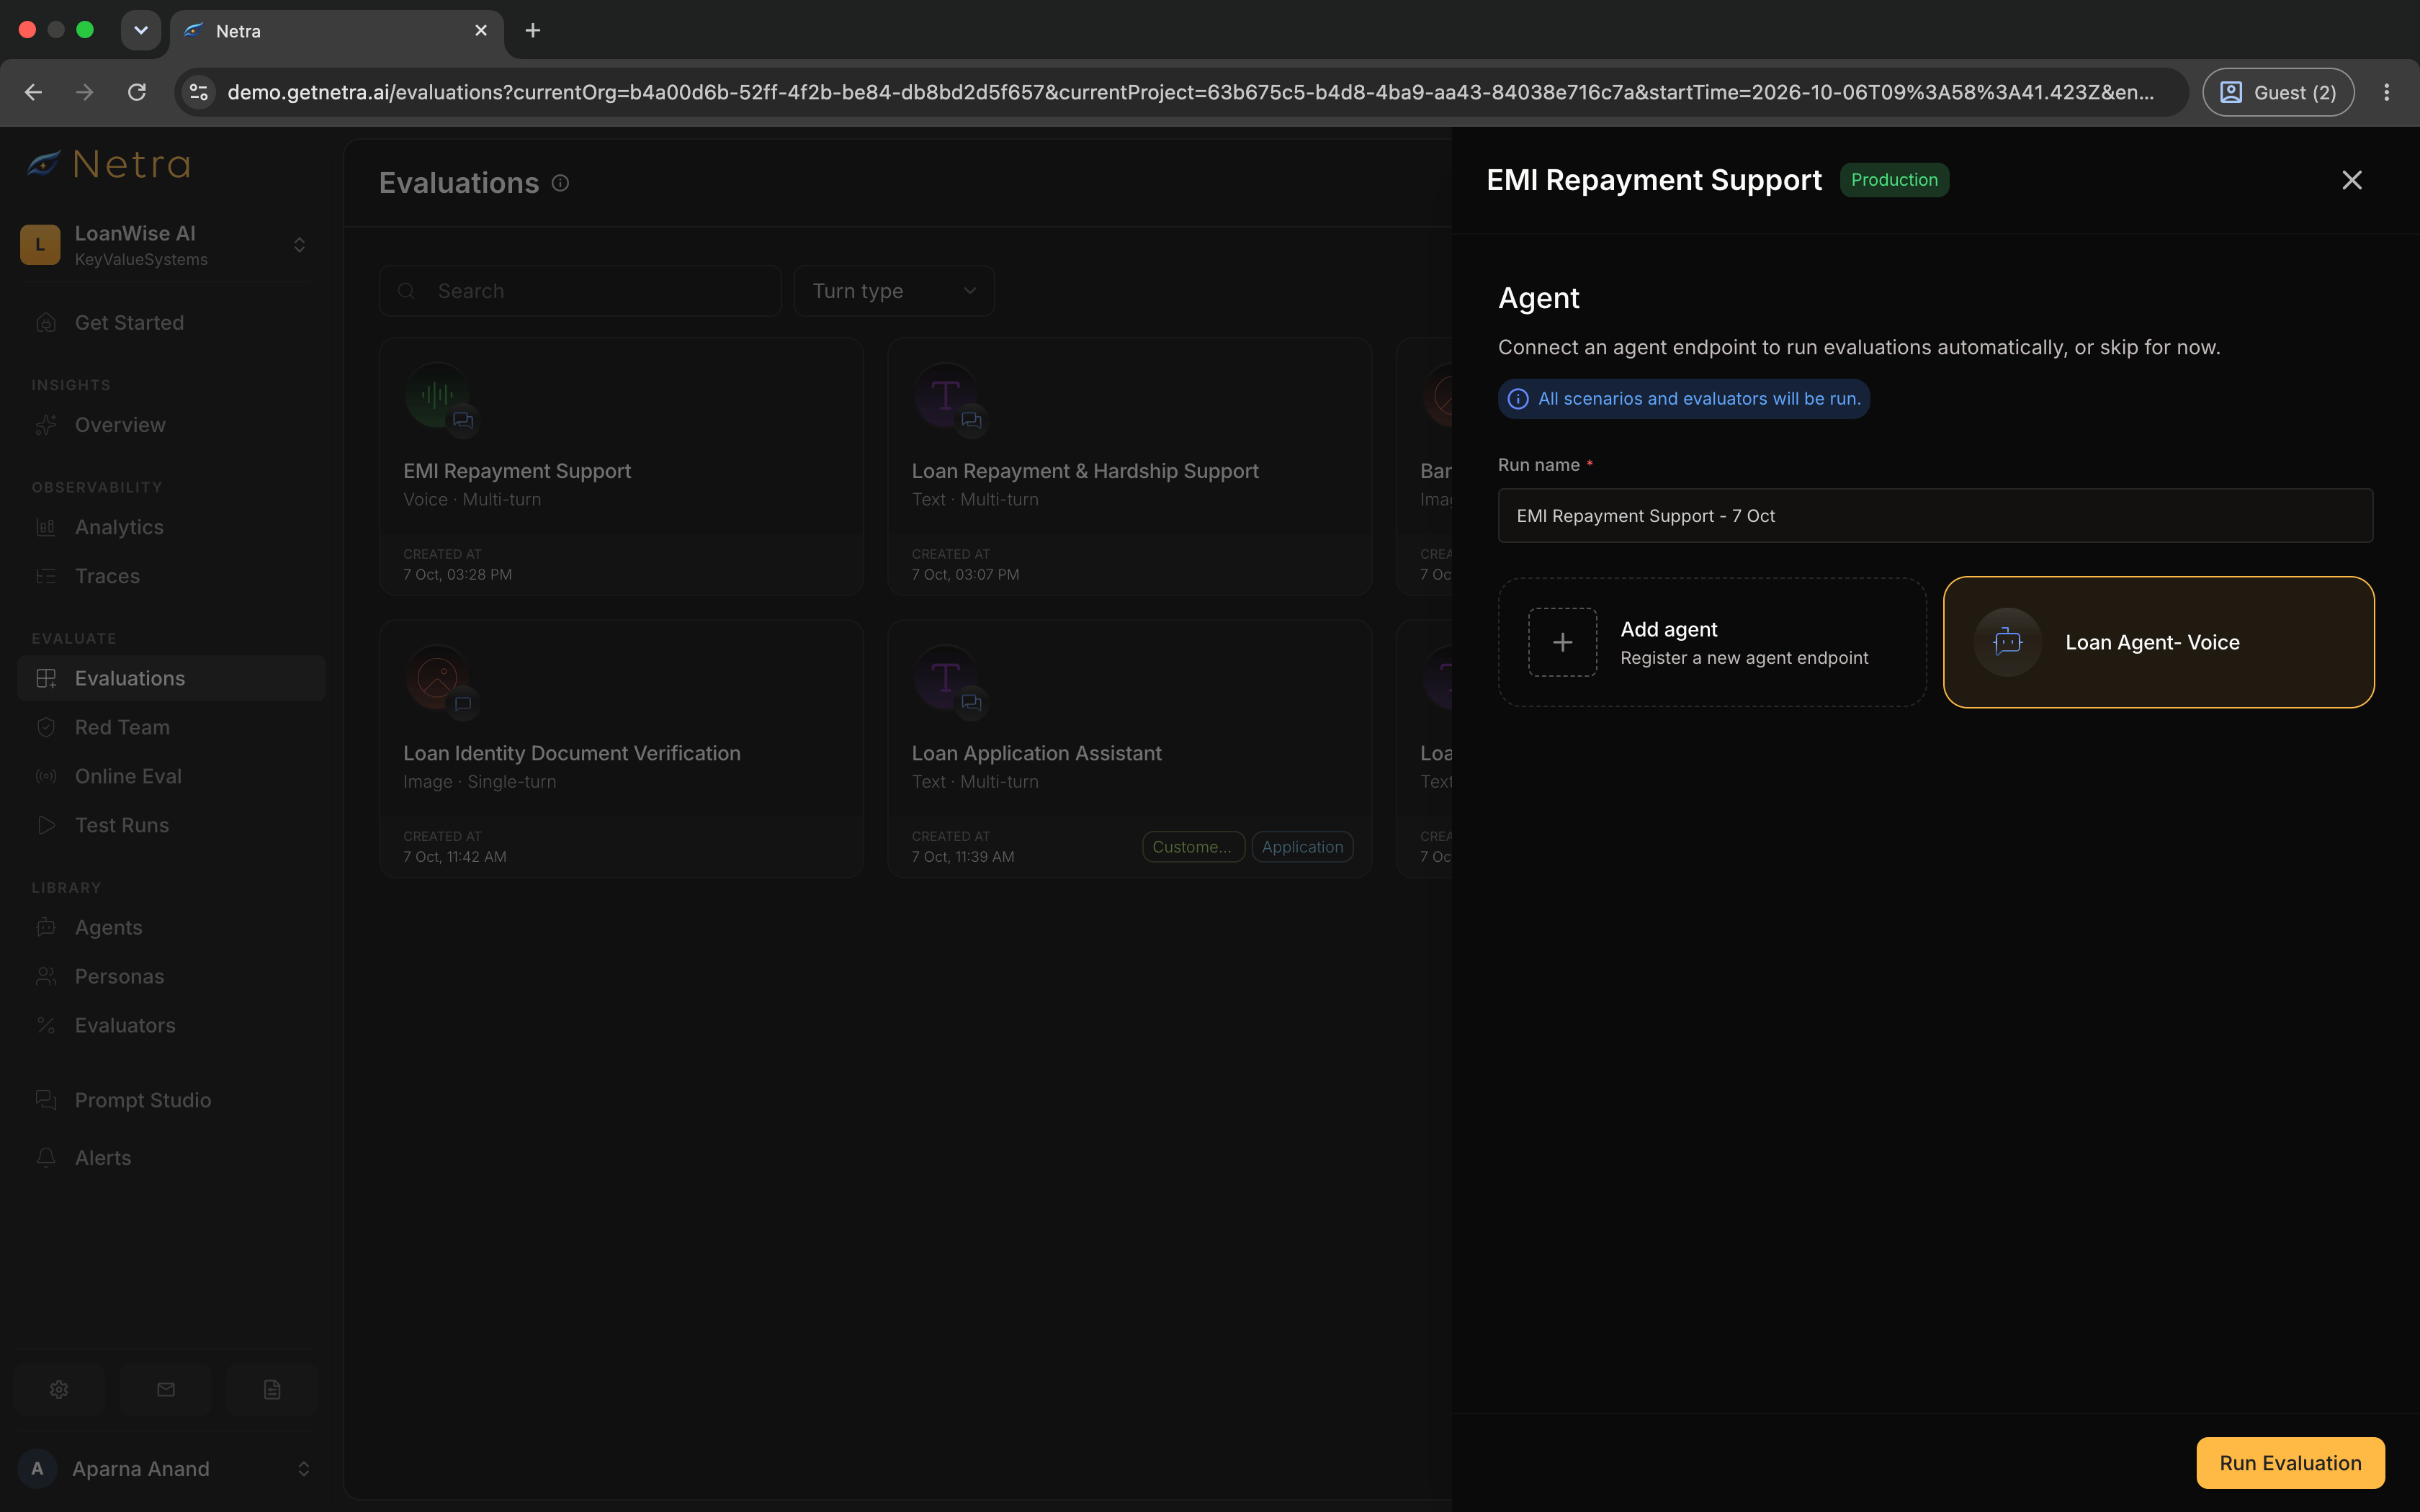
Managing an Evaluation
Open any voice evaluation to manage it: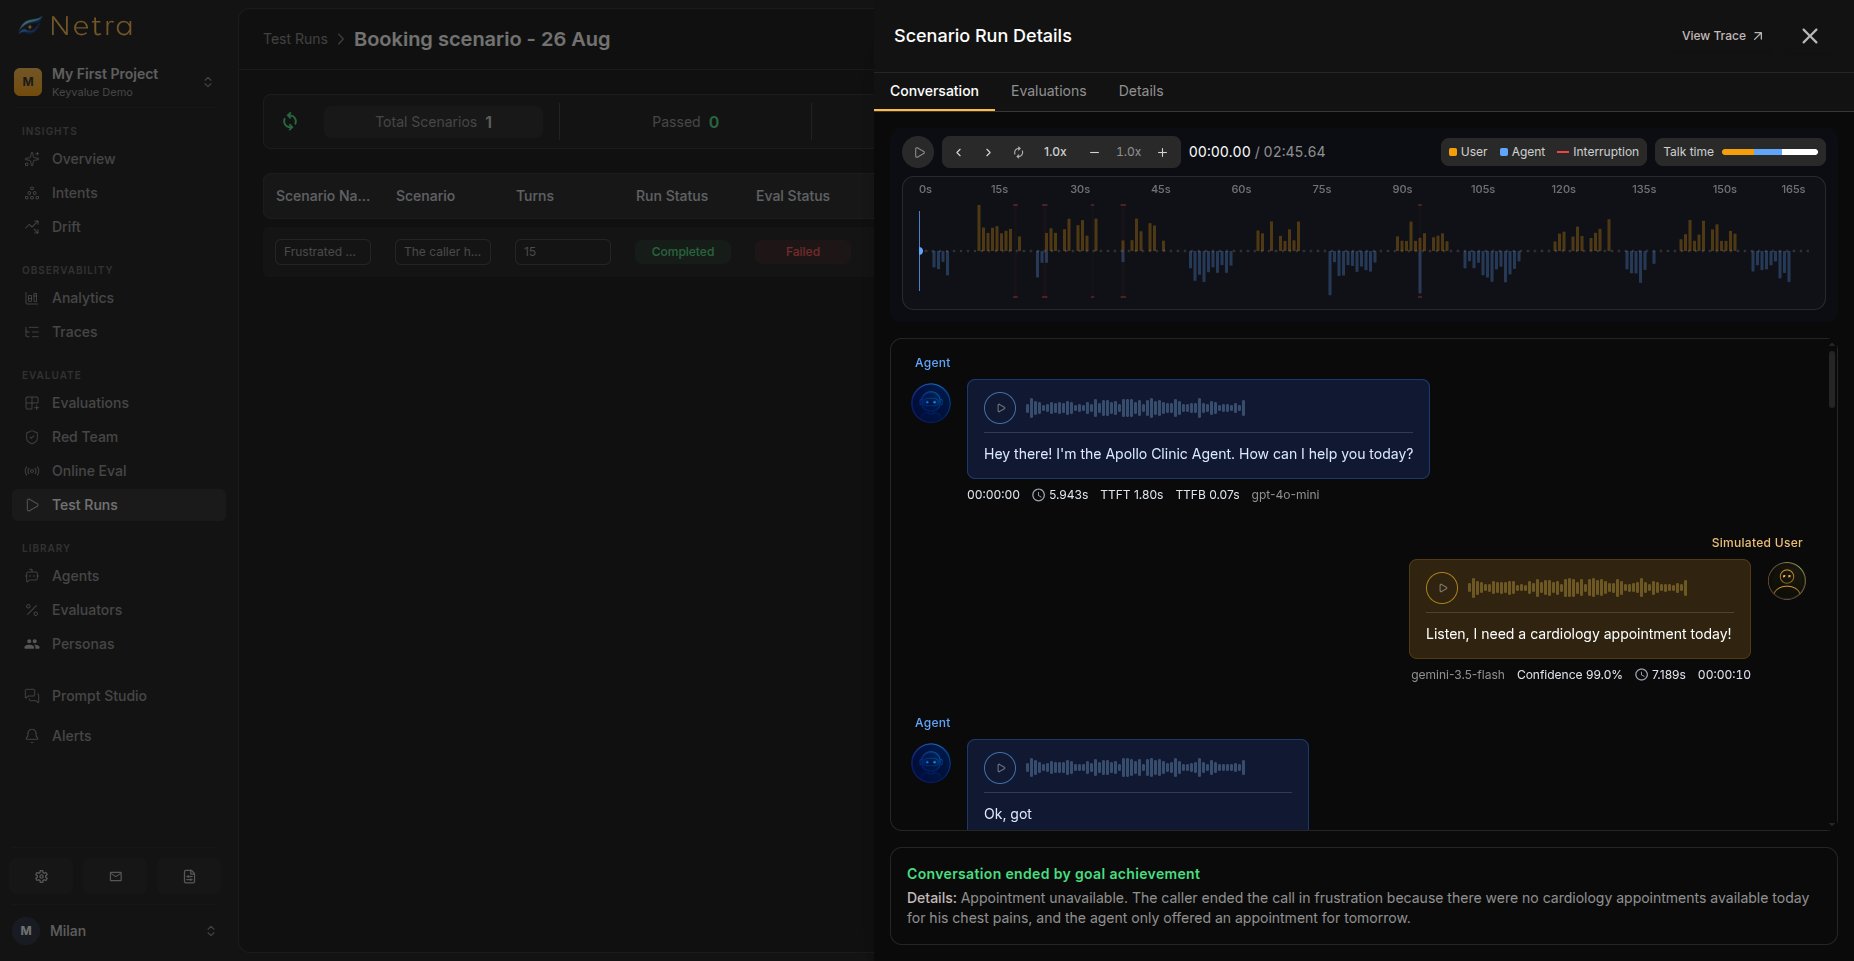
Best Practices
Designing Scenarios
- One goal per scenario: Keep each call focused so results are easy to interpret
- Vary difficulty: Mix straightforward requests with ambiguous or multi-part ones
- Test boundaries: Include scenarios your agent should decline or escalate
Tuning Realism
- Start quiet: Run first passes without background noise, then add it once the basics work
- Match your users: Choose personas whose accent, pace, and language resemble real callers
- Bound the cost: Cap max duration and turns to keep runs predictable
Related
- Simulation Overview - Understand the full simulation framework
- Personas - Create reusable caller personas
- Evaluators - Score audio quality, transcription, and delivery
- Test Runs - View transcripts and synced call audio