
Prerequisites:
- At least one contact point in Settings → Contact points. See Destinations.
- The Owner or Project Admin role. Project Members cannot see or manage automations.
Where to Find Automations
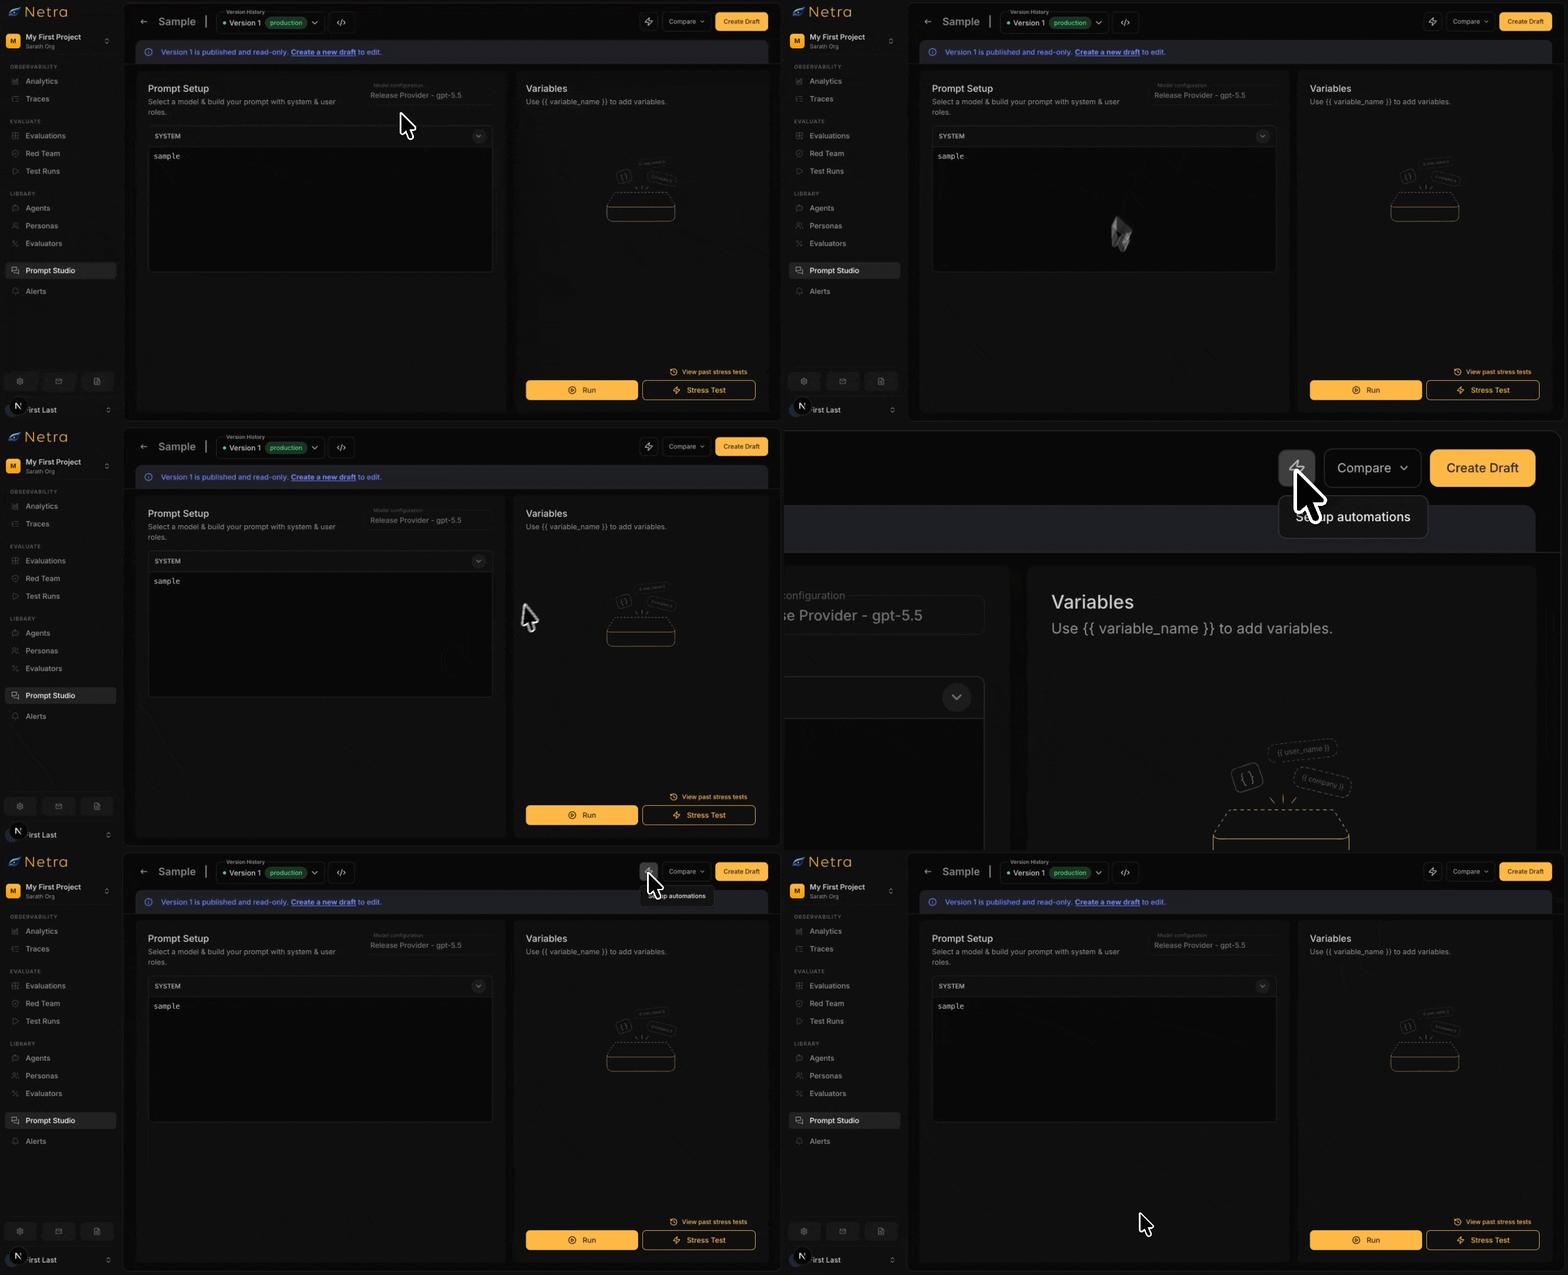
New automations are created from a prompt, an evaluation, or a red team config. The Settings → Automations page lists them but does not create them.
Create an Automation
1
Open the Automations drawer
Open the prompt, evaluation, or red team config, then click the lightning icon in the header. If it has no automations yet, the Add automation form opens straight away. Otherwise you see its automations; click Add automation below the list.
2
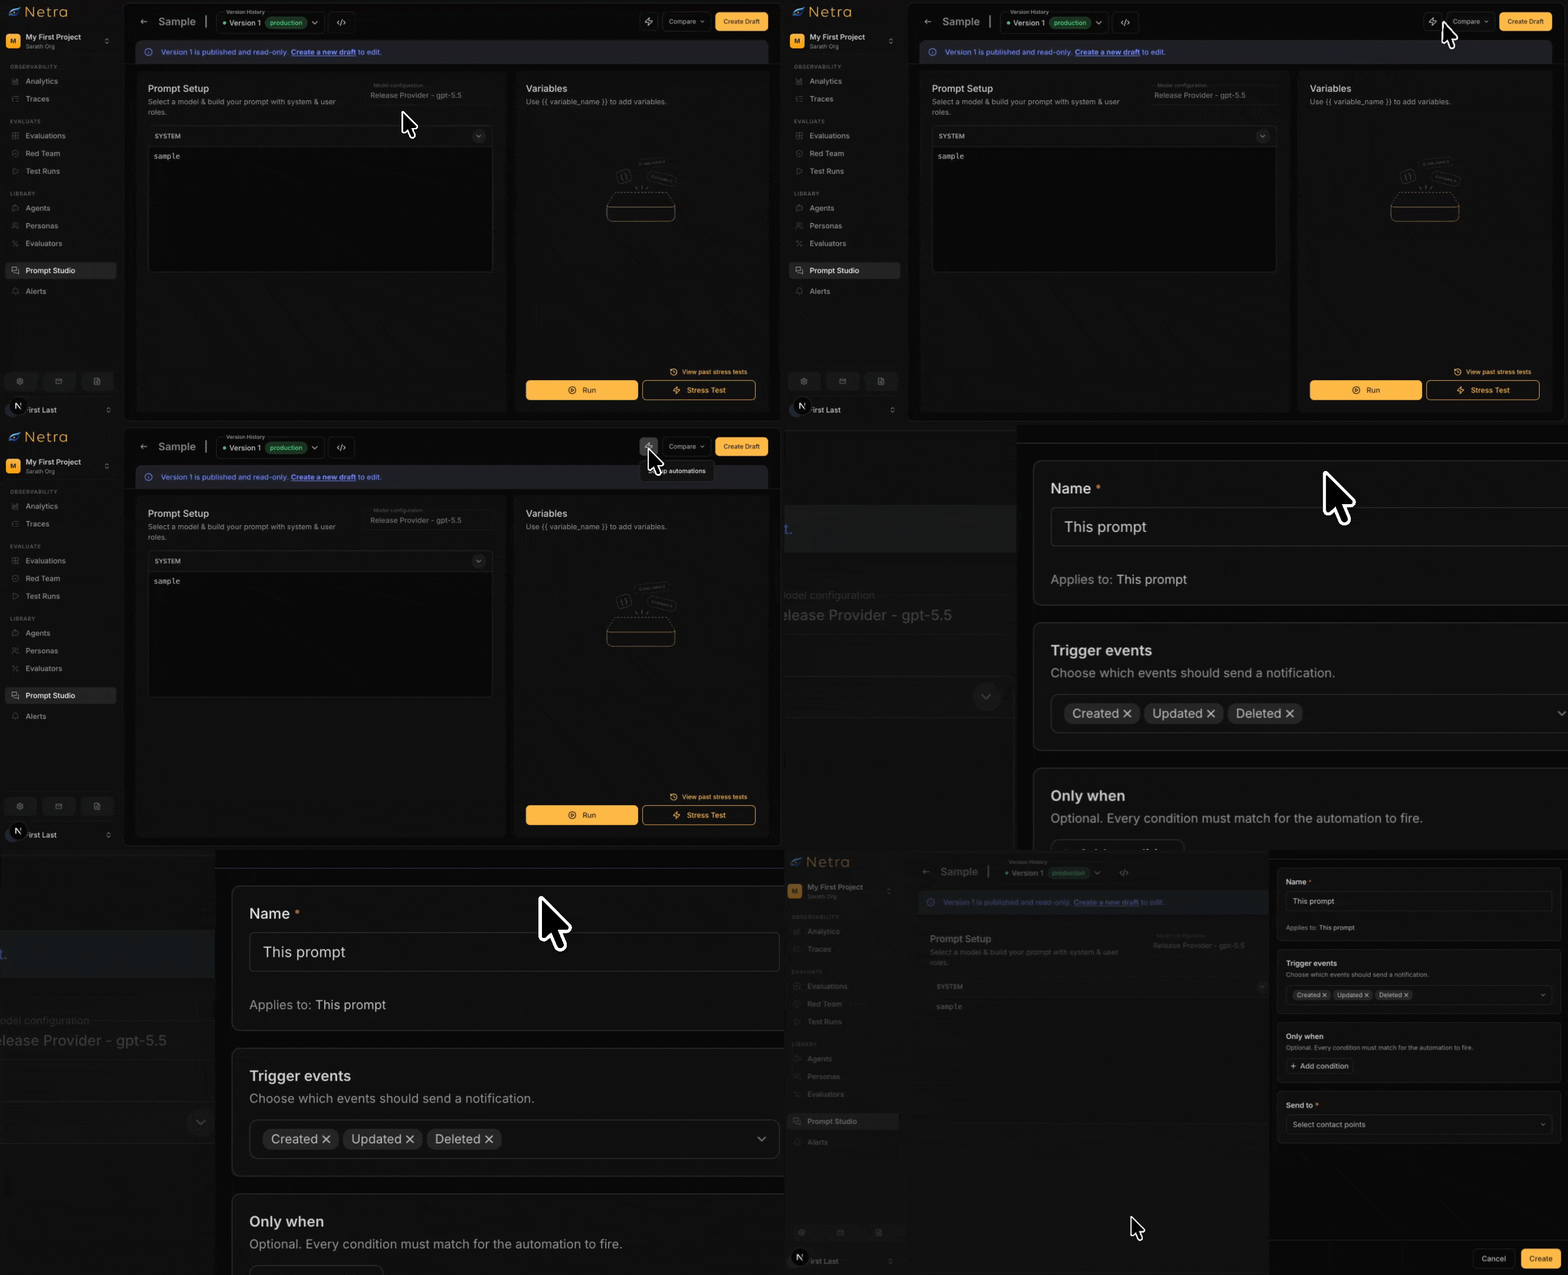
Name the automation
Enter a Name that describes what it does, such as
Notify #ml-team on production changes.3
Choose trigger events
Under Trigger events, select one or more events. The list depends on what you opened:
See Sources and Events for when each event fires.
4
Add conditions (optional)
For prompt automations, under Only when, click Add condition to narrow when the automation fires. See Add Conditions.
5
Choose destinations
Under Send to, select one or more contact points. If you have none yet, click Create Contact Point from the dropdown.Netra previews the result, for example: “You’ll be notified at #ml-team when a prompt is updated.”
6
Save
Click Create. The automation is enabled immediately.
Add Conditions
Conditions filter events before anything is sent. Every condition must match for the automation to fire. If you add none, every selected event fires it.
Conditions are available on prompt automations. Test run and red team run automations fire on every selected event for the item they are attached to.
Label matches the label the event is about: the label that was attached or removed, or the labels a new version was published with.
An automation can have up to 20 trigger events, 20 conditions, and 20 destinations.
Manage Automations
Open the Automations drawer on a prompt, evaluation, or red team config, or go to Settings → Automations to see all of them.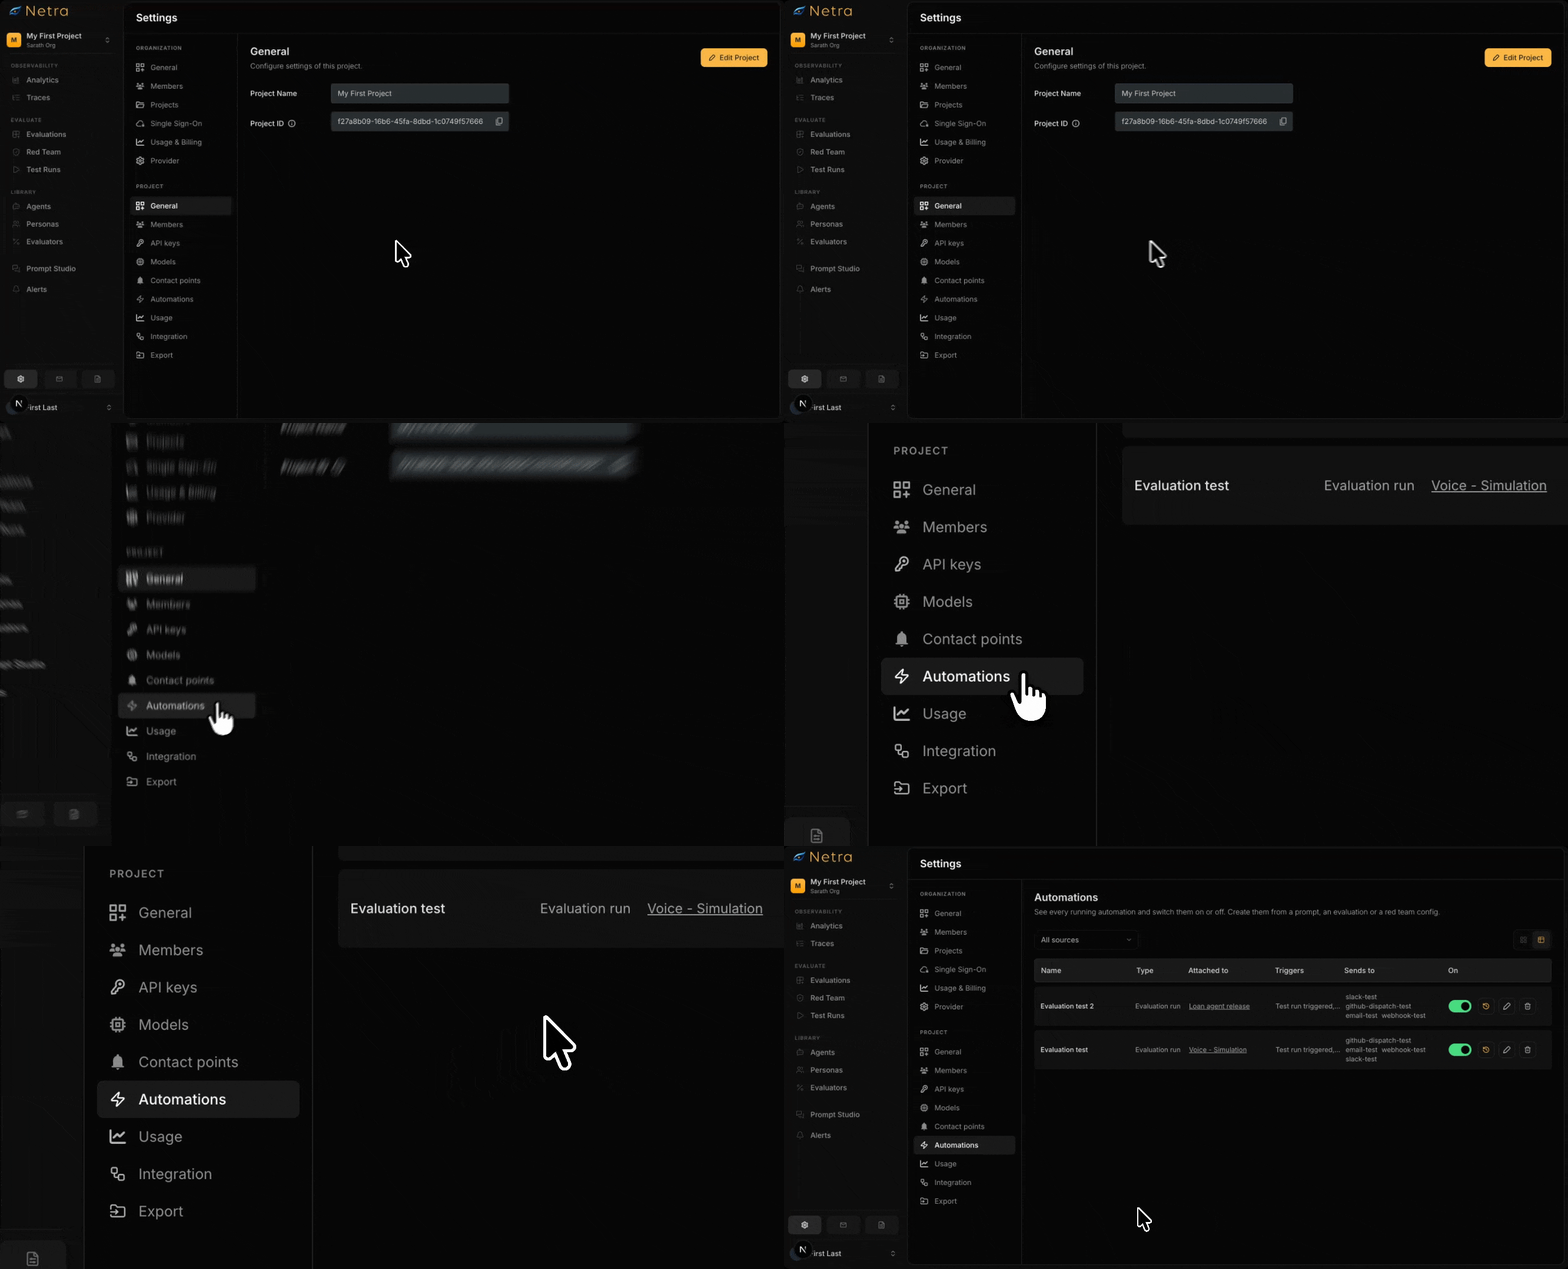
Use the row actions to view Delivery history, Edit, or Delete an automation.
When you delete a prompt, the automations attached to it are deleted too. They still deliver the final Deleted event first.
Delivery History
Click Delivery history on an automation to see every message it sent, newest first.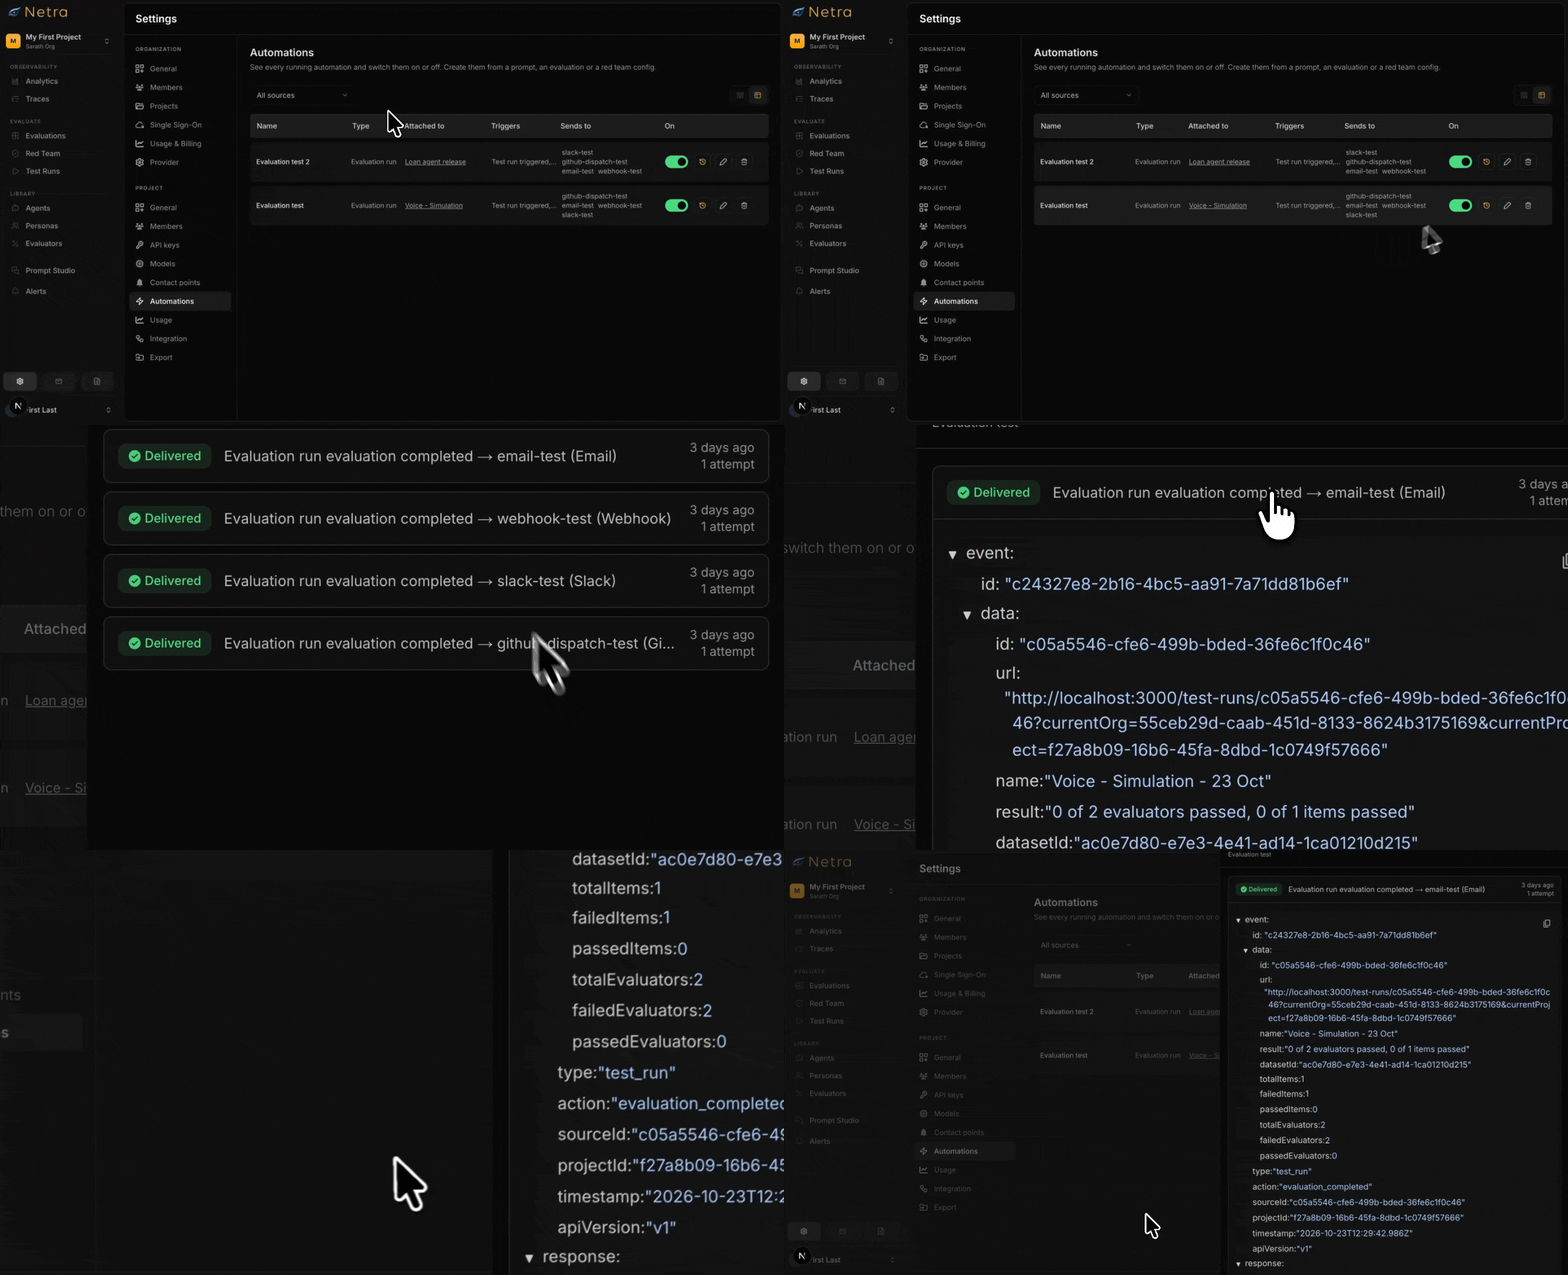
Netra keeps delivery history for 30 days.
Retries
If a delivery fails because of a timeout, a rate limit (429), a server error (5xx), or a network error, Netra retries it up to 3 more times, after 5, 10, and 20 seconds (4 attempts in total). Other errors, such as 401 or 404 or a misconfigured contact point, are not retried.
Paused Destinations
If a destination fails 5 deliveries in a row, Netra pauses it for that automation and emails the person who created the automation. The other destinations keep receiving messages. To resume, fix the contact point, then open the automation and click Re-enable next to the paused destination.See Also
Destinations
Configure contact points and verify webhook payloads
Automations Overview
Sources, events, and how automations work